

Projects
A project brings together data sources, statistics and automations. Create a separate project for a client, campaign or related set of data.
Create a project
- Open Projects → Create project.
- Under Basics, enter a name and choose a refresh interval. Additional settings are available under Advanced.
- Under Sources, choose a connection, data, dimensions and Source metrics. Add another source if needed.
- Continue to Review and start, review the setup and confirm creation.
- Open Overview and wait for the first refresh result.
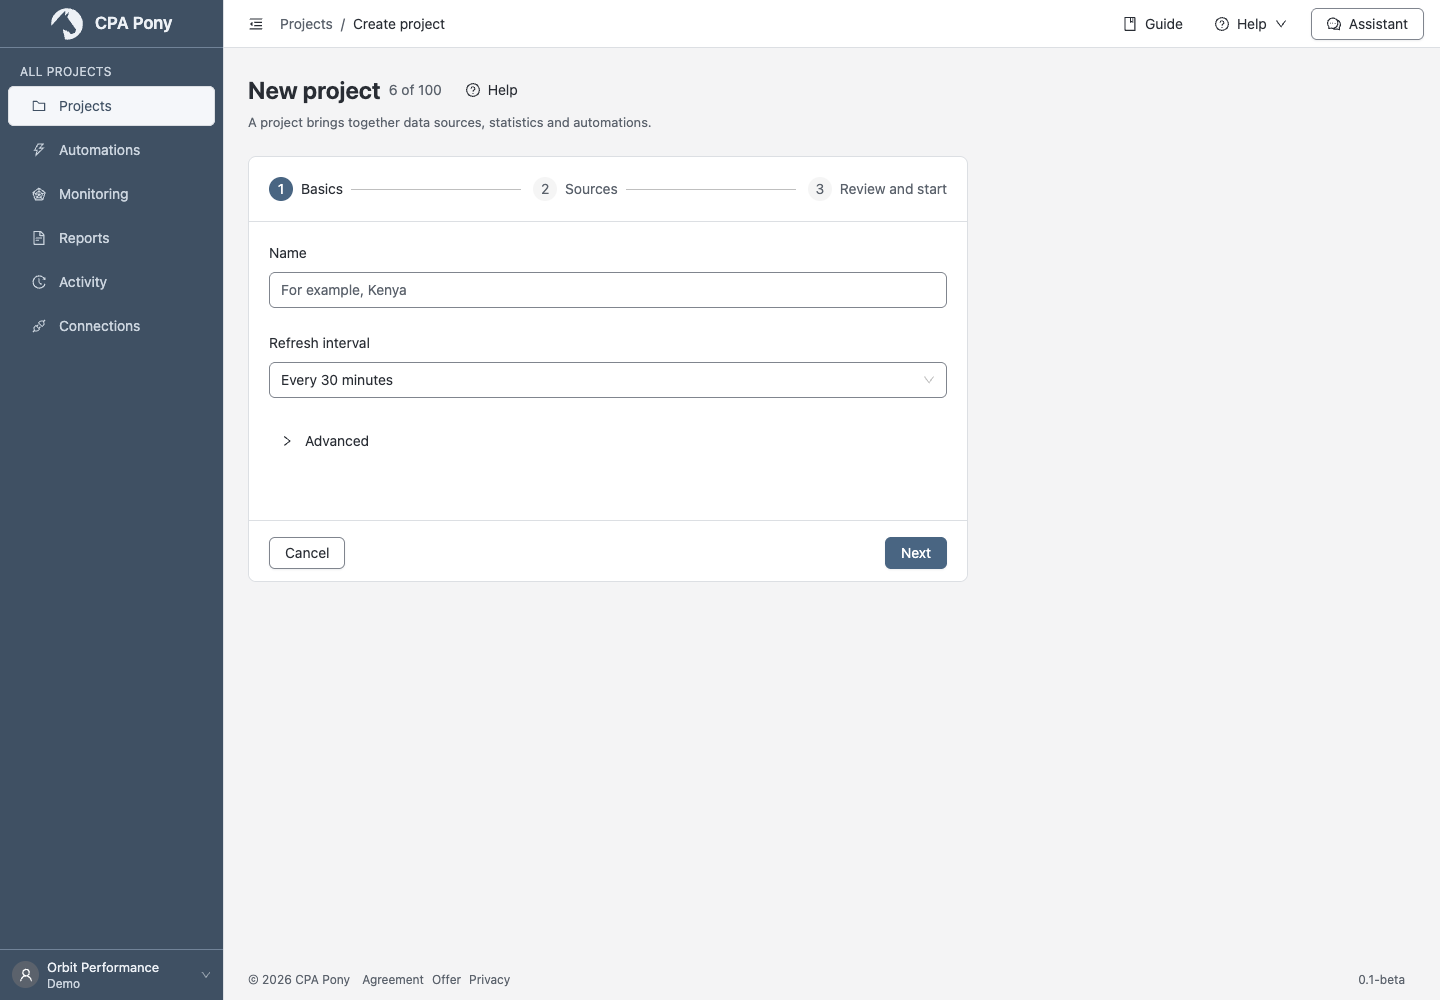
Choosing Whole account requires an additional confirmation. Check that you actually need all available objects.
If the project was created but some sources could not be added, fix the errors and retry adding them, or skip those sources. Do not create a second project instead of finishing the first. When leaving, the wizard offers to keep the created project, delete it or continue setup.
Find a project
Select a name in the list to open its overview. Use search and filters for status or connection. Choose the metrics you need through Columns.
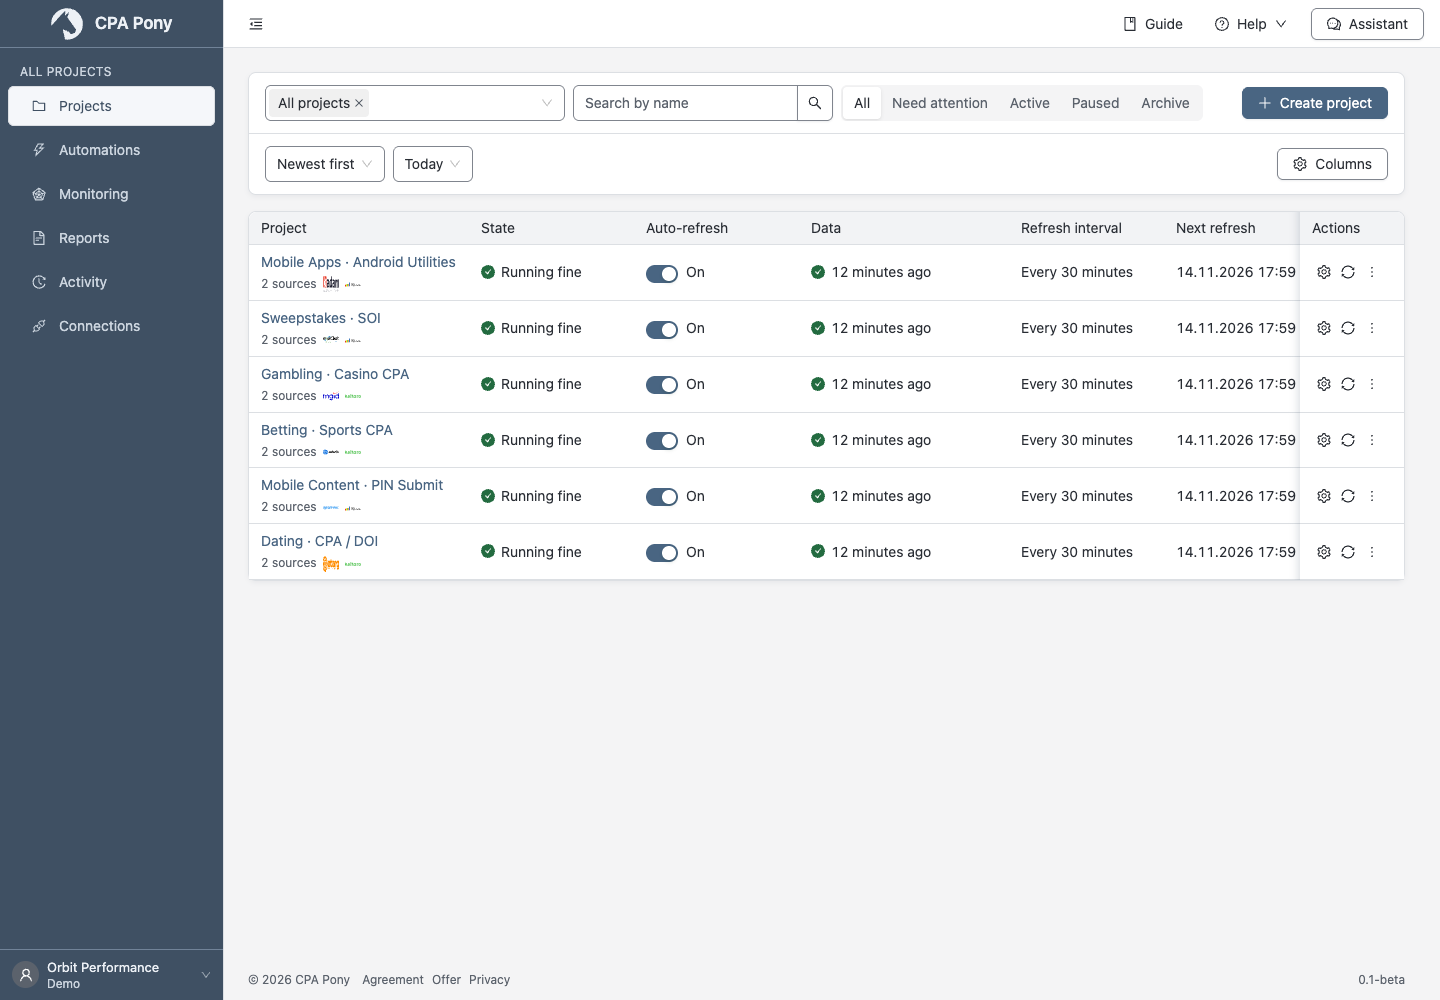
Choose All projects or up to 100 individual projects in the selection field. Search and other filters narrow the list further. Clearing the selection leaves an empty list: select projects again or return to All projects.
Sorting by a metric is available for selections of up to 100 projects. For larger selections, narrow the filters or sort by name. On Home, project selection also affects the summary metrics and chart.
Check a refresh
On Overview, check source status and messages that need attention. In Data, open a source's latest refresh details.
To refresh a specific period:
- In the project list, select Refresh now for the project.
- Choose the period and confirm the refresh.
- Wait for the result and check the messages for each source.
Queued means the data has not finished refreshing. If the connection is busy, wait until the retry time shown in the status. Selecting refresh again does not necessarily create another refresh: check the period of the request already shown.
If you need help with the result, give support the Data refresh ID once it appears in the status window.
If a manual refresh will not start
When auto-refresh is off, the window offers Enable auto-refresh and refresh data. This also enables future scheduled refreshes. Check that this is the behavior you want before confirming.
If a refresh is already running, wait for its result. If permissions, your plan or the project's state prevent it, follow the suggested correction. After a temporary failure, check the outcome before retrying: handling errors.
Activation limit
The project limit counts projects with auto-refresh enabled. When the limit is reached, you can still create a project with auto-refresh off. To enable it, disable another project's auto-refresh or change your plan.
Change or stop a project
Configure sources, links and custom metrics in Data. Manage the interval, time zone, pause, archive and deletion in Project settings.
Before deleting, review the dependencies shown in the confirmation. Blocking dependencies must be resolved; other warnings help you assess which objects will lose data.